

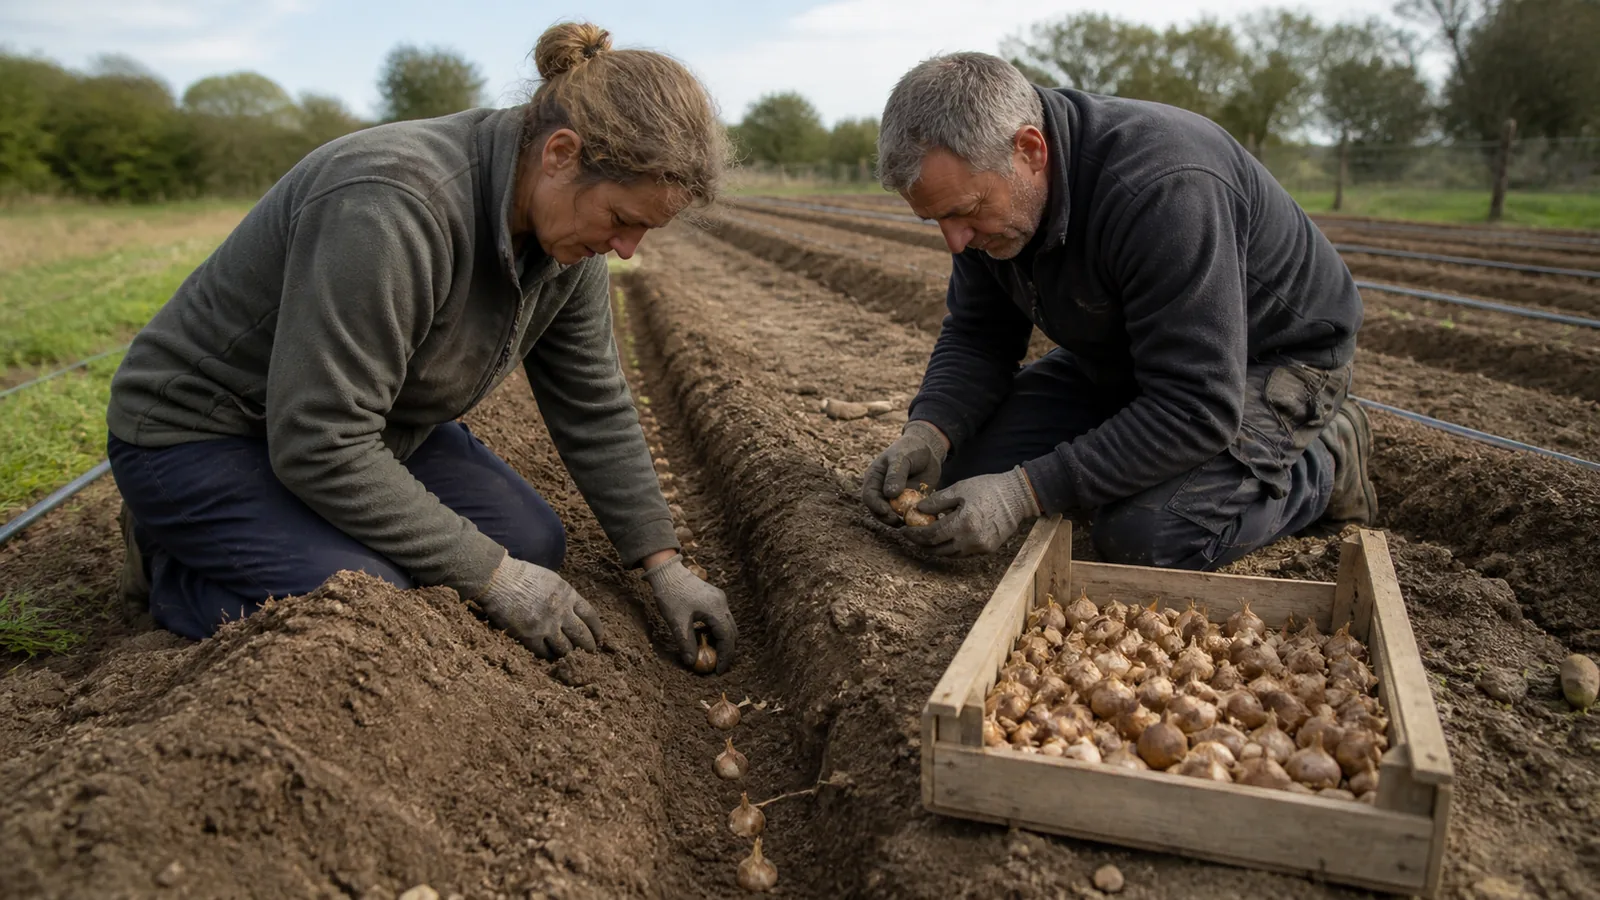
Useful saffron cultivation tips begin with healthy corms, well-drained soil and a plan for the crop’s full cycle. Planting is only the opening step. Water, weeds, soil crusting, rodents, flower collection, drying and storage can each affect how much usable saffron reaches the final container.
Crocus sativus is a sterile triploid and does not normally produce viable seed, so farmers propagate it with corms. That makes the condition of the planting stock especially important. The old claim that crop improvement through breeding is “not possible” is too absolute: ordinary seed crossing is severely limited, but clonal selection, clean-stock programmes and modern research can still improve production systems. For higher yields and more consistent quality, the immediate field gains come from managing factors a grower can see and measure.
1. Start with the field, not the corm order
A suitable field is fertile enough to support leaves and daughter corms, yet drains freely. Organic matter can improve structure and water-holding behaviour, but adding manure does not rescue compacted or waterlogged land. Dig inspection pits, check for a hard layer and watch what happens after sustained rain or irrigation.
Test the soil before setting a fertiliser programme. The result should guide any need for phosphorus, potassium, nitrogen or a pH correction. If animal manure is used, it should be properly composted and incorporated at an appropriate pre-plant stage. Do not combine animal manure and chemical fertilizers from a copied recipe without knowing the soil, product analysis and local rules.
Weather and soil work together. Our article on good weather for planting saffron explains the dry summer dormancy, autumn cooling and drainage checks in more detail.
2. Choose large, healthy corms
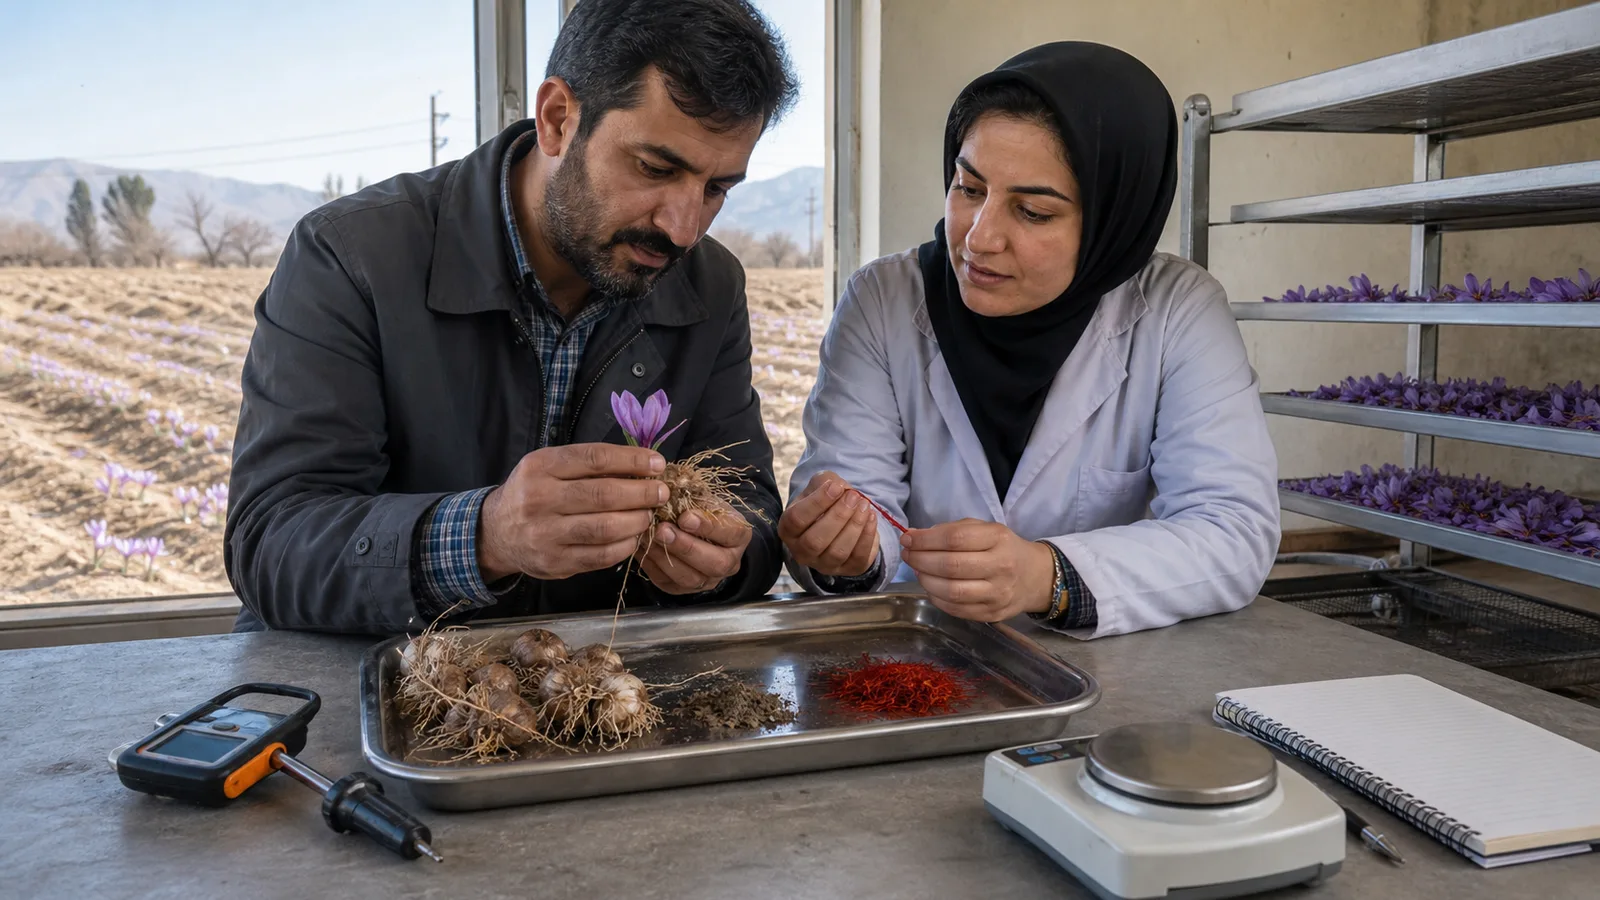
Select firm corms that are appropriate for the production system and free from visible rot, wounds, mould, mites and other contamination. Larger corms often have more reserves and a stronger chance of flowering, but size alone is not proof of health. Inspect a representative sample, verify the source and keep suspect lots separate.
Handle corms gently. A damaged surface gives decay organisms an opportunity to enter, while mixed or poorly documented stock makes it harder to trace a field problem later.
3. Keep lifted corms cool, dry and ventilated
If corms cannot be planted immediately, hold them for the shortest practical time in a shaded, cool, dry and ventilated place. Do not seal damp corms in plastic or pile them so deeply that heat and moisture build up inside the lot. Inspect stored stock rather than assuming it will remain sound.
Storage temperature and duration depend on local practice and the intended flowering schedule. Extending storage merely for convenience can change corm condition and delay establishment.
4. Design beds and rows for drainage and work
The original list advised a “tier pile” system. The translation appears to refer to raised beds, ridges or orderly rows. Those layouts can improve drainage and make machine operation, hand weeding and flower collection easier, provided the bed dimensions match the soil and equipment.
A raised shape is not automatically safe. Water can still collect beneath it if the subsoil is compacted. Mark access lanes before planting so workers and wheels do not repeatedly compress the corm zone.
5. Set depth and spacing for the system
Traditional Iranian guidance often places corms about 15–20 cm deep in colder regions and 10–15 cm deep in temperate zones. Those ranges preserve the original advice on this page, but they are not universal minimums. Trials have found different results at 5, 8, 10, 13 and 15 cm because climate, corm size, soil and the number of years the bed will remain in place change the trade-off.
Deeper planting may protect corms and affect flowering or daughter-corm development, while shallow planting can increase multiplication and exposure to temperature or drying. Place the growing point upward, keep depth consistent, and choose density according to whether the main goal is stigma yield per area, flowers per corm or future planting stock.
6. Irrigate by crop stage and soil condition
Avoid leaving dormant corms in persistently wet summer soil. That is the useful principle behind the old instruction to avoid summer irrigation. It is not a universal ban on every late-summer watering. Some systems use carefully timed water before emergence or flowering, and the correct decision depends on soil moisture, drainage, weather and disease pressure.
After planting, apply water evenly enough for establishment without creating saturated pockets. During winter and spring, the leaves are building reserves for new corms, so prolonged water stress can also be costly. Record irrigation rather than judging only by the dry appearance of the surface.
7. Control weeds before they become a harvest problem
Summer dormancy offers a useful window to reduce weeds while saffron has no active leaves above ground. Choose cultivation depth carefully so tools do not cut shallow corms. Remove perennial weeds before planting where possible, and prevent seed production along beds and access lanes.
Later weed control must account for saffron’s narrow leaves and shallow working zone. Use only methods and products authorised for the crop and location. A clean-looking field is not worth residue, worker-safety or corm-injury problems.
8. Break a surface crust without reaching the corms
Heavy rain or irrigation can form a crust that obstructs emerging shoots. If that happens, loosen only the shallow surface with a suitable hand tool or light implement. Work when the soil will crumble rather than smear, and confirm the planting depth before setting any machine.
The aim is to open a path for shoots and flowers, not to cultivate down to the corm. One aggressive pass can undo the care taken during planting.
9. Monitor rodents and corm pests
Mice and other rodents may eat or carry saffron corms, leaving gaps that are easy to mistake for poor flowering. Look for holes, runs, disturbed soil and missing corms. Map damage so the pattern can be distinguished from drainage, disease or planting-depth problems.
Use an integrated control plan suited to local wildlife and pesticide law. Field hygiene, barriers in small beds, habitat management and properly designed traps may be options; indiscriminate poison can endanger workers, livestock and non-target animals.
10. Harvest flowers early and every day
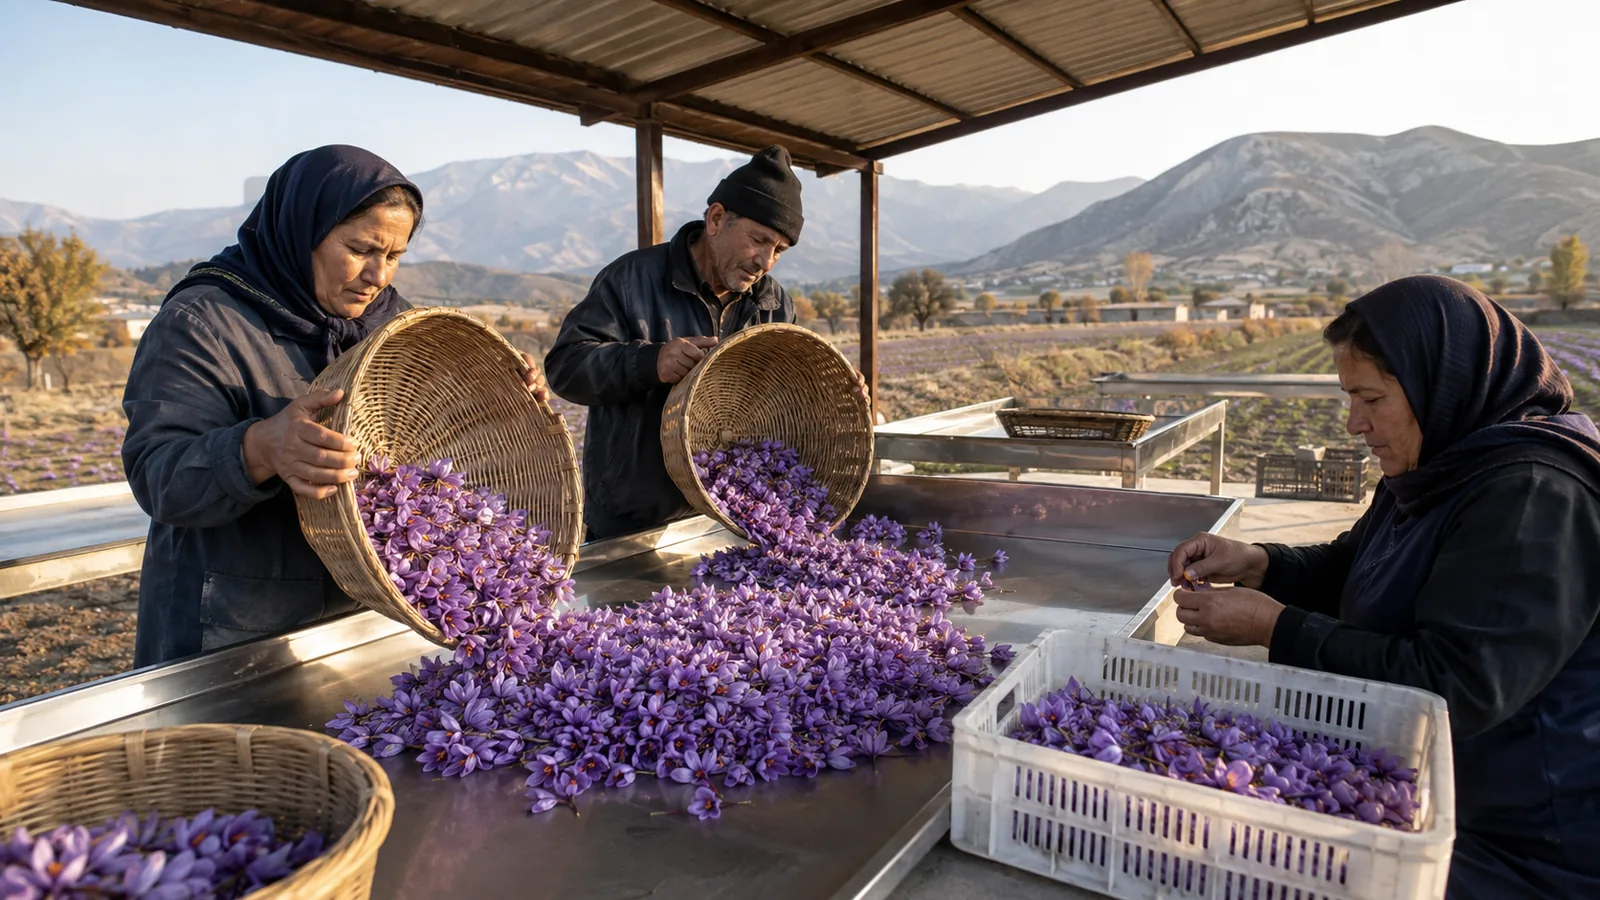
During the short flowering period, collect flowers daily before heat, wind or handling degrades them. The traditional window on this page is 4–9 am, when many flowers are still closed or newly opened. Actual timing follows daylight, temperature, dew and labour conditions, so “early morning” is the more portable rule.
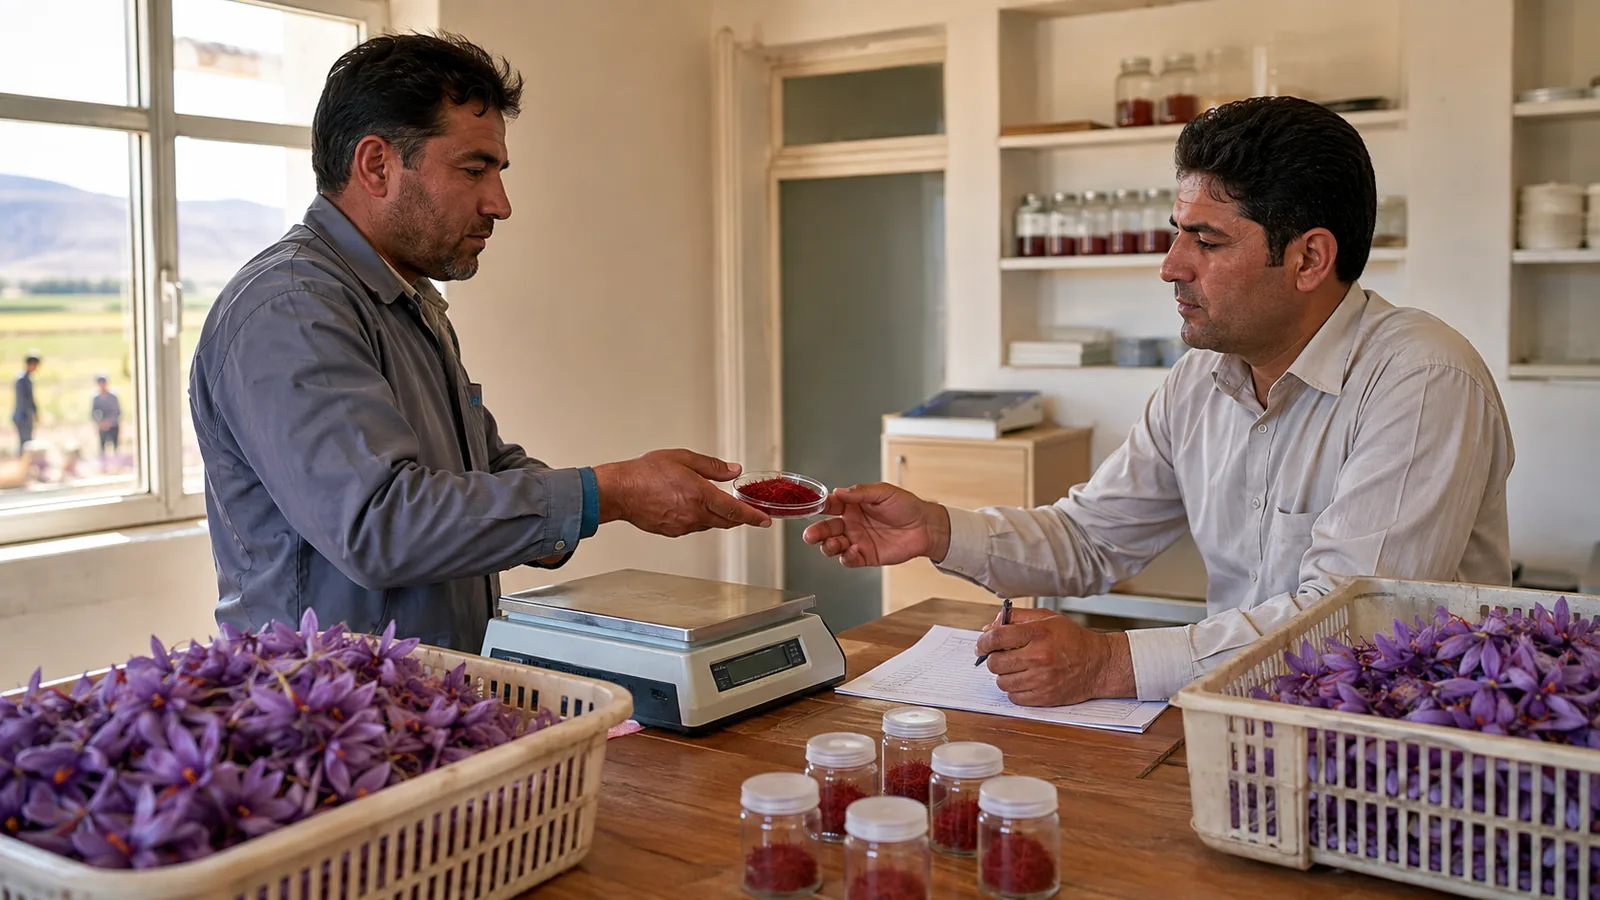
Use clean containers, avoid compressing the flowers and move them quickly to a shaded processing area. Separate the red stigmas carefully. It is the stigmas, not the whole dried flowers, that become commercial saffron.
11. Dry the stigmas promptly and consistently
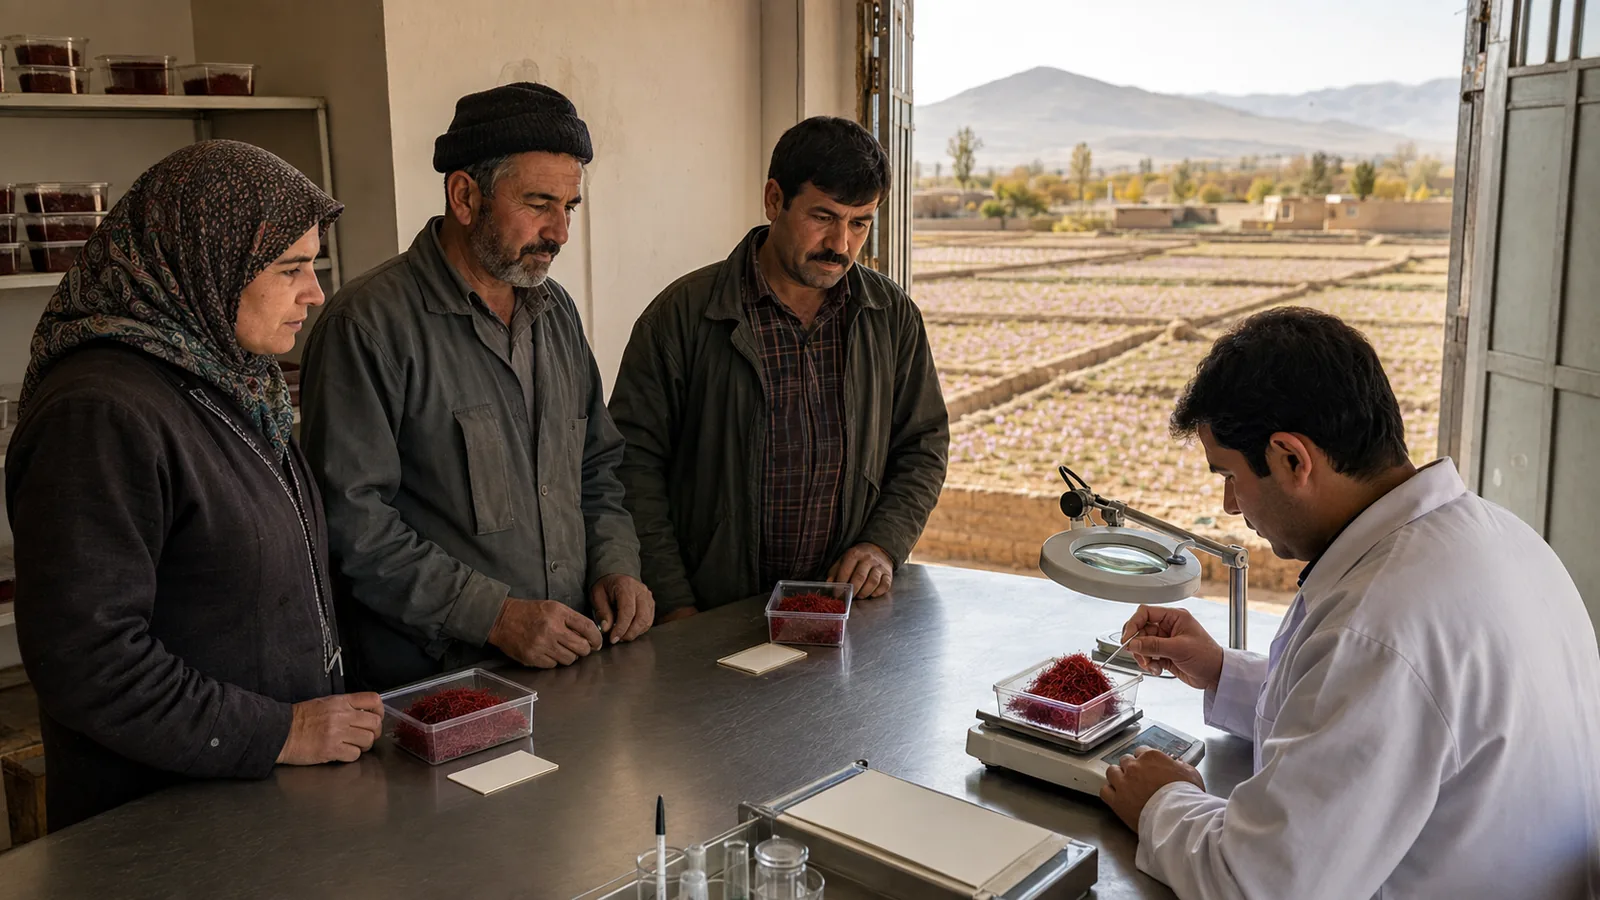
Drying must remove enough moisture for stable storage while protecting colour and aroma. Temperature, airflow, layer thickness and time should be controlled and recorded. Slow, uneven drying can encourage deterioration; excessive heat can damage quality.
The previous text called the Spanish drying procedure the “best” and rendered its equipment as “Heather and Alec fire.” This appears to be a machine-translation error for traditional toasting with controlled heat and a sieve or screen. Spanish-style toasting is one established method, not the only valid method. Modern hot-air, infrared, microwave and freeze-drying trials use different conditions and produce different quality profiles. A commercial processor should validate its own method against the required saffron standard.
12. Protect dried saffron from heat, light and moisture
Once cool, place the dried saffron in a clean, food-grade, tightly closed container. Glass and metal can work well when the closure is suitable; an opaque container or dark storage area limits light exposure. A wooden container may serve as secondary packaging, but unlined wood is not the first choice for direct, moisture-tight food contact.
Keep containers away from heat, humidity and strong odours. Label the lot and drying date, and avoid repeatedly opening the main stock. Smaller working containers reduce the amount exposed each time saffron is handled.
Use the tips as a controlled process
The strongest saffron cultivation practice is not one trick. It is a sequence: inspect the site, document healthy planting stock, plant consistently, manage moisture and weeds, protect the corms, harvest clean flowers, dry the stigmas under controlled conditions and store the finished spice correctly.
Keep records for each field and lot. Flower count, dry stigma weight, corm health, irrigation, weather and rejected material will show which change helped. For the wider agronomy and botanical context, read our complete guide to saffron cultivation and growing conditions.
Sources and review note
We reviewed this article on 28 August 2026. The crop’s sterile-triploid propagation and key agronomic factors are described in the comprehensive saffron agronomy review. Corm size and depth evidence comes from the open-access field study of planting depth and corm size and a more recent controlled-environment cultivation study. Post-harvest context comes from the updated saffron quality-control review. Exact field decisions should follow soil results, climate, the production system and local agricultural rules.

![Exporting Saffron to Turkey + Price Guide [Complete 0 to 100]](https://img.rowhanisaffron.com/20260827003933/saffron-export-turkey-quality-inspection.webp)